Your Cart (0)


ALL

NECKLACES

BRACELETS

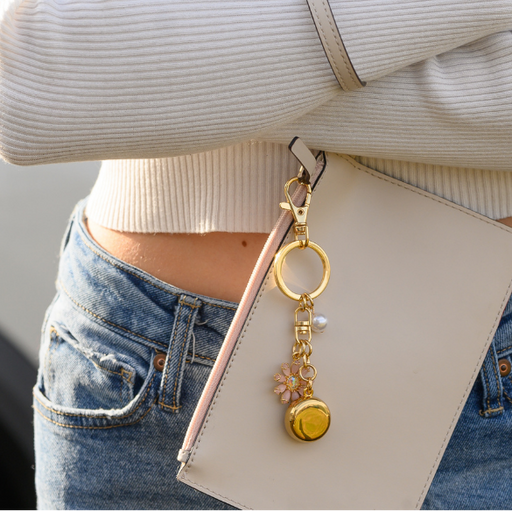
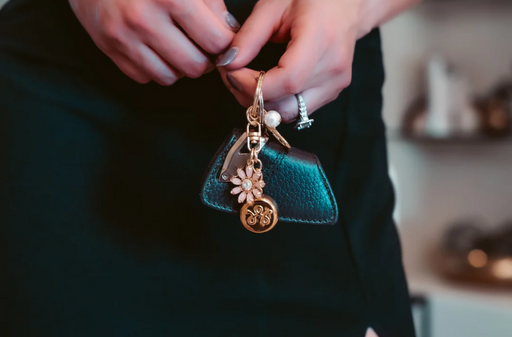
KEYCHAINS
FITNESS

FOR HIM

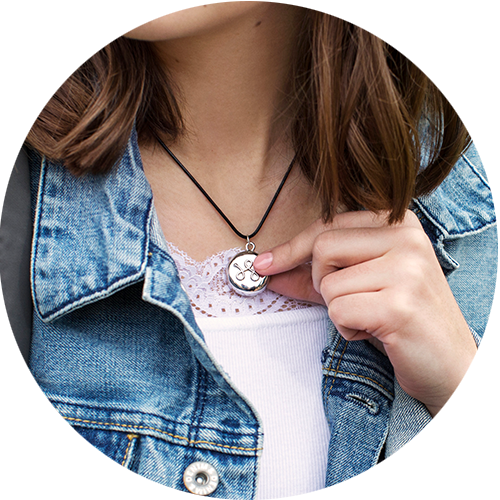
I absolutely love my invisaWear! I feel so much safer knowing that help is 2 clicks away. Sadly, we are living in unsafe times but this beautiful necklace I purchased could literally save my life!
I have also received so many compliments on how pretty it is. Thank you for providing me with peace of mind invisaWear!